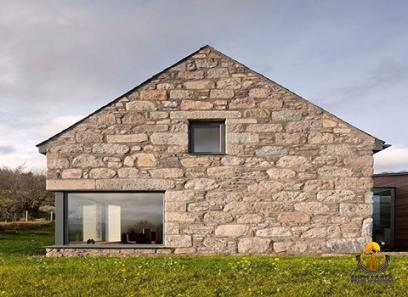
A stone facade can transform an ordinary property into an extraordinary one, providing a timeless and elegant look that adds value and curb appeal. While hiring professionals for this task may seem like the obvious choice, undertaking a do-it-yourself (DIY) stone facade project can be an affordable and rewarding endeavor. However, careful planning, preparation, and execution are essential to ensure a successful outcome. This article will provide valuable tips and guidelines to help you create a stunning stone facade on your own. 1. Plan and Research: Before starting any DIY project, proper planning is crucial.

.
 Begin by researching different stone types, textures, and colors to determine the look you want to achieve. Take inspiration from architectural styles, local trends, or your personal taste. Evaluate your property’s dimensions, noting the areas where the stone facade will have the most impact. Additionally, consider the necessary materials, tools, permits, and budget required for the project. 2. Selecting the Right Stones: Choose high-quality stones that suit your desired aesthetic while being durable enough to withstand the elements. Natural stone veneers, faux stone panels, or manufactured stone veneers are cost-effective options that offer a diverse range of textures and finishes. Check local suppliers or online stores to find a variety that matches your vision and fits within your budget.
..
 3. Preparing the Surface: Before applying the stones, ensure the surface is clean, dry, and properly primed. Remove any existing paint, dirt, or debris, and repair any cracks or imperfections. If necessary, apply a waterproofing membrane or a layer of cement board to provide a stable base for the stones. 4. Adhering the Stones: Use a high-quality construction adhesive specifically designed for stone facades to ensure a long-lasting and secure bond. Follow the manufacturer’s instructions for adhesive application and allow sufficient drying time before moving on to the next step. Apply the adhesive evenly and with precision to achieve a professional finish. 5. Installing the Stones: Start from the bottom and work your way up, using a combination of stone sizes, shapes, and colors to create a visually appealing pattern. Ensure proper alignment and spacing, paying attention to details such as corners, edges, and seams. As you progress, periodically step back to evaluate the uniformity and balance of the overall facade.
…
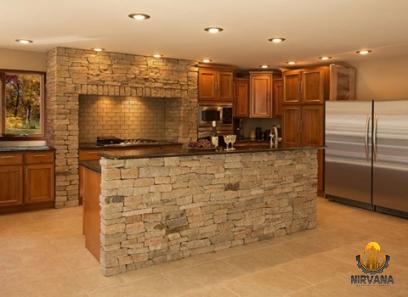 6. Grouting and Sealing: After the stones are securely in place, fill the gaps between them with grout. Choose a grout color that complements the stones and enhances the aesthetic appeal. Ensure thorough grout application, leaving no empty spaces. Once the grout is dry, apply a stone sealer to protect the facade from moisture and enhance its longevity. 7. Maintenance: Regular maintenance is essential to preserve the beauty and integrity of your stone facade. Sweep away dirt, leaves, and other debris regularly. Avoid using harsh chemicals or abrasive cleaning tools, as they can damage the stones’ surface. Instead, opt for a gentle cleaning solution and a soft brush to keep the facade looking its best. Conclusion: With careful planning, a DIY stone facade project can add an enchanting aesthetic to your property while staying within your budget. By following these tips, researching, and investing time and effort, you can achieve a remarkable stone facade that will enhance the overall appeal and value of your property for years to come. Embrace the challenge, showcase your creativity, and enjoy the rewarding experience of completing a DIY stone facade project.





Your comment submitted.